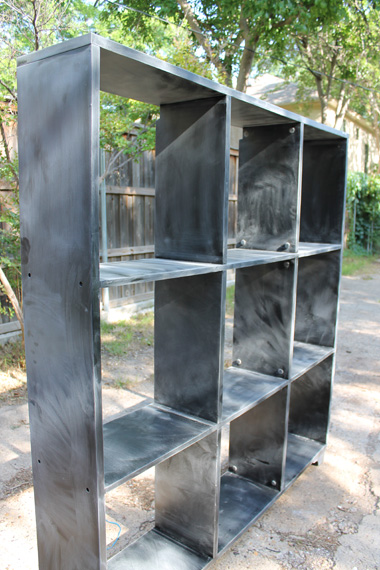
It is always exciting to take on new projects, even if I’ve never done that type of piece before, I always know I’m going to learn A LOT! When I took on a big bad laminate bookshelf, I had NO idea how difficult it was going to be, it’s just a little ol’ bookshelf right? NO! So I thought I’d write about my experience to save you the trouble. Painting veneer, laminate and IKEA furniture is actually pretty easy, there are just a few things to know and it’ll be a golden experience. I mean who doesn’t want to personalize your mass made furniture to make it your own? Well it’s easy stuff – first thing is first, make sure you have the right supplies.
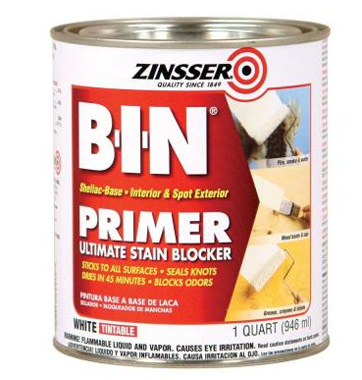
- I use this Zinsser B.I.N. primer, it can be used under oil or latex paints and is exactly what you need to get the paint to adhere well to your piece. I would highly recommend this particular primer. It seems pretty watery, and dries super fast, but it seriously holds the paint.
- Use a fairly fine sandpaper, I used 180 grit and then 220. You aren’t trying to take the color/finish off of the furniture but you do want to scuff it a tad to get the paint to adhere.
- And finally, your choice of painting applicator (how will you apply the paint) I used a roller, and a spray gun.
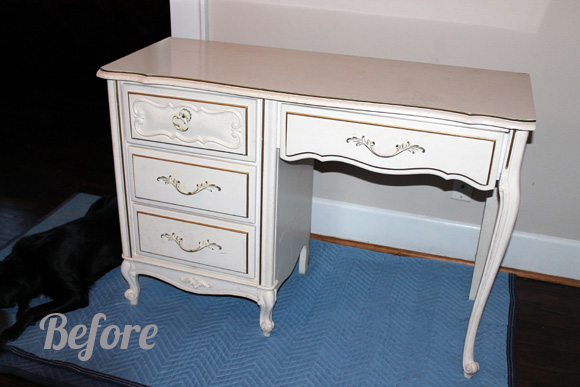
- As always, wipe down your piece of furniture and remove any hardware that you don’t want painted.
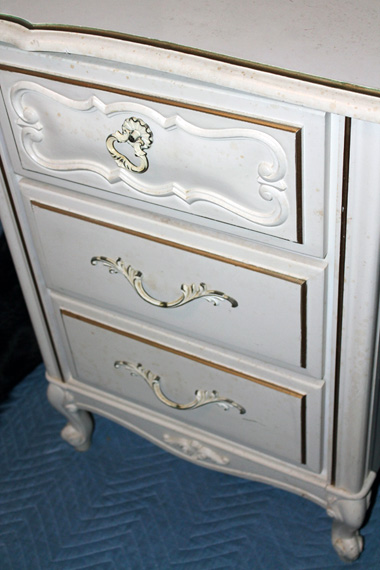
- Get to scuffing! Using your 180 grit sandpaper, scuff up the piece. Try to get most of the piece evenly sanded – this will help your primer adhere to the smooth surface and will prevent chipping in the future. The picture below shows how the sanding will create a little bit of dust on your piece, but you aren’t going to be removing any of the finish, we will be painting over all that.
 After you’ve sanded the entire thing, wipe the piece down with a damp cloth to get rid of all that dust.
- Prime. Using the Zinsser B.I.N. primer, paint or roll on the primer. This stuff dries quickly, so work fast and try to make your strokes as even as possible. The more uneven, the more visible the primer will be through your first coat of paint. Which reminds me, this particular primer can be tinted! Yup, how awesome so if you are using a darker color, just have the hardware store tint your primer so you don’t have to worry about white showing through (although tinting is not necessary, it does make it easier).
- Once your primer is dry you can use your 220 grit sandpaper to sand down the entire piece. Note that you aren’t trying to remove any of the primer, you are just lightly sanding to give your piece that “smooth-to-the-touch-feel.” Get it nice and smooth and wipe off any dust that sanding has created.
- Whoo hoo! Now you can paint. Remember, you have choices here, you can spray your paint with a spray gun, use a nice brush (one that goes with the type of paint you are using) or you can use a roller. I prefer a spray guy. I use the Graco Truecoat Plus II and I LOVE it!
- Do a few coats, allowing your paint to dry the recommended amount of time in between coats.
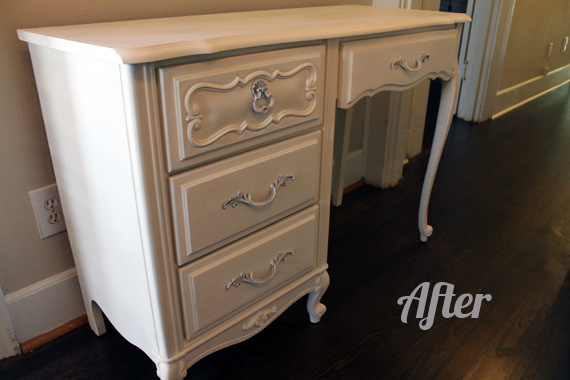
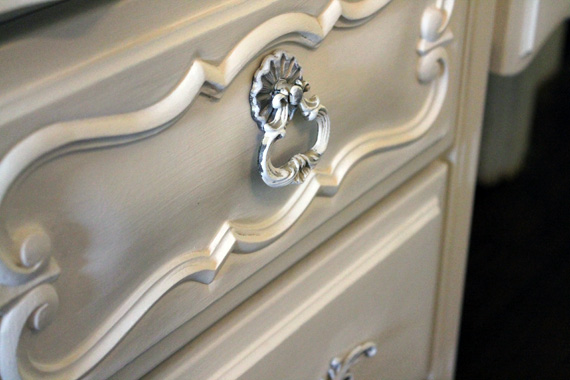
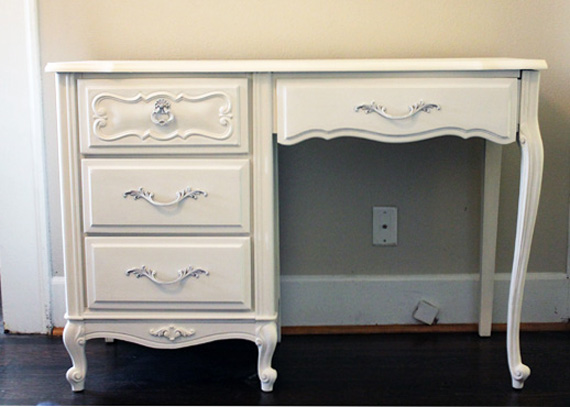
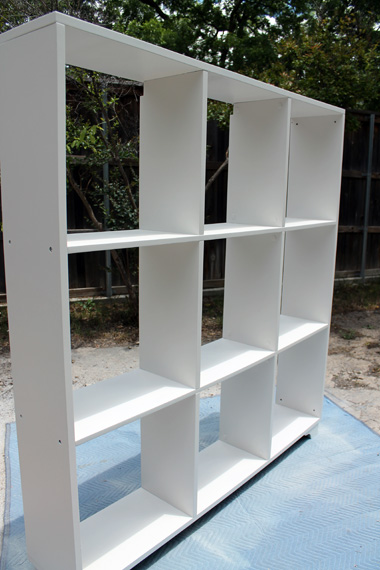
Here is the final bookshelf – I know it seems weird to just paint it white, but this particular piece matched my customer’s wall perfectly, so it looked like it was a built in, it turned out really nice.
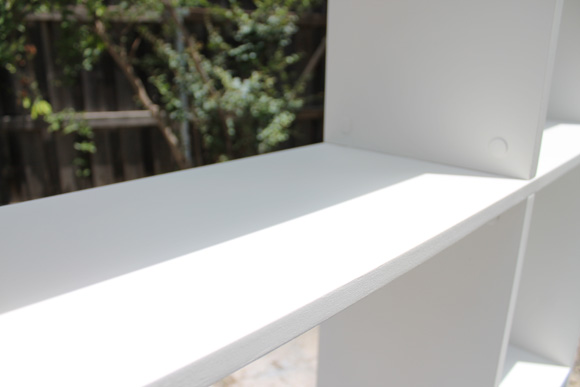
and smooth!
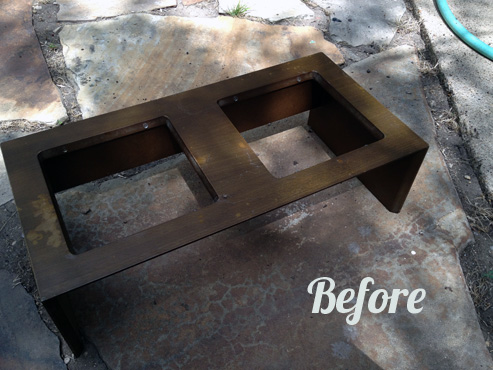
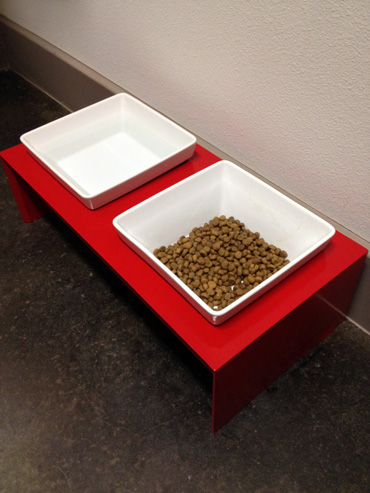
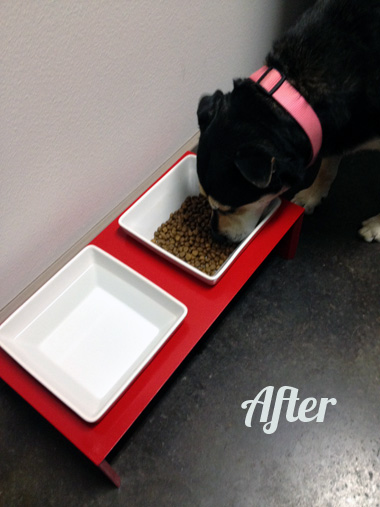
I also used the exact same steps to personalize a dog bowl for some of our great friends. I love how their sweet dog Cin Cin now has a custom bowl that is like no other!
I’d love to see some pics from some of the furniture you’ve personalized with paint!!