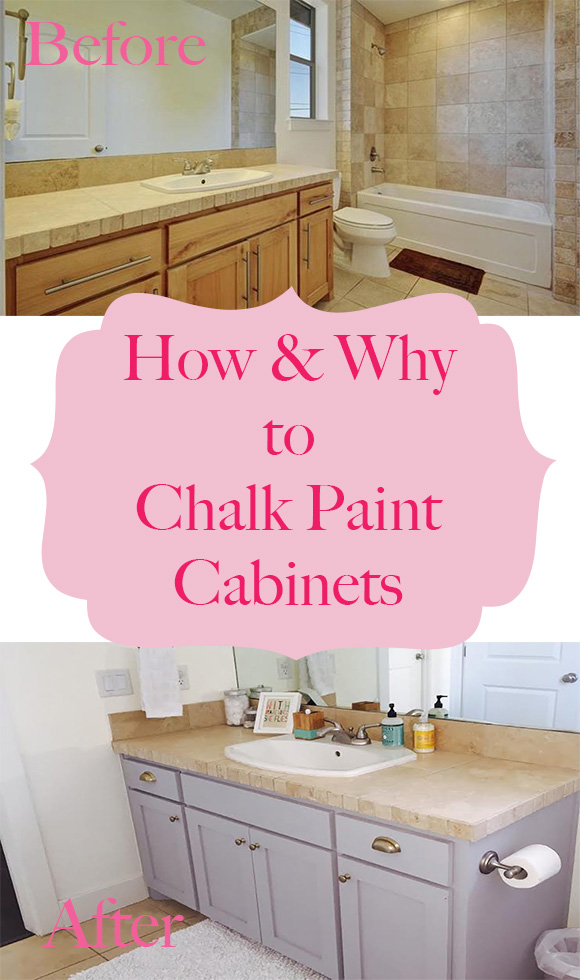
When we moved into our new house, all of the cabinets were in their natural form, no stain or paint. Definitely not anything wrong with that, just not my bag, if you know what I mean. I had to do something to make them mine. Saw these ideas on https://kingstoncabinetry.co.uk/ and definitely needed to try it out for my house.
We have these awesome shaker cabinets, so I knew they didn’t need to be replaced, it would just take some DIY painting, and I can handle that! Mark and I spent many moons, like literally 14, painting our kitchen cabinets, sanding, priming, sanding, painting, sanding, painting…you get it. I loved the way they turned out. But that’s not the process I had in mind for our bathrooms. Also think about installing a shower door with 90 degree return panel to get your bathroom more organized and add a fresh look.
We have a little beansprout and I just don’t have a lot of extra time on my hands, so I needed a better solution. I’ve painted a TON of furniture with Chalk Paint, but never cabinets, so I wasn’t sure, and I also wanted to add some paintings and murals from the best Murale Design online to create a good vibe in the room. But I tried it, and SUCCESS!! I have created a fancy little infographic for the process, but I want to share a little more info since these are cabinets and not your regular ol’ furniture project. Here’s how it all went down.
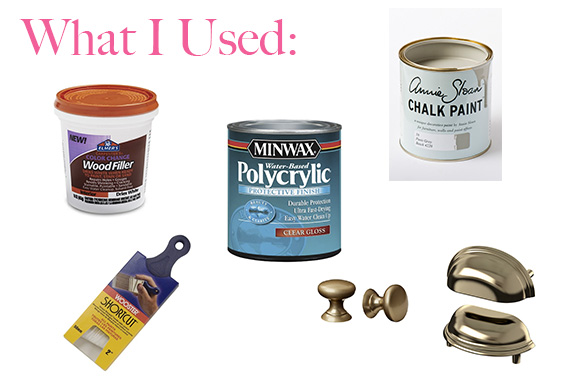
1. Annie Sloan Chalk Paint in Paris Grey 2. Wood Filler 3. Wooster Paint Brush 4. Polycrylic 5. Ikea Knobs and Pulls
Step by Step:
- Remove all old hardware and fill any holes you won’t need with your replacement hardware.
- Sand the wood filler nicely, so its nice and smoooooooth.
- Wipe down your cabinets, some of these bathroom and kitchen cabinets have GUNK! I just used Dawn dish soap and warm water on a rag and that did the trick.
- Remove the doors from their hinges and pull the drawers out.
- PAINT! The first coat
- Allow the paint to dry, it dries pretty quickly. I waited about 20 minutes after I finished and began the 2nd coat in the same spot I began last time.
- Allow the paint to dry/cure at least 24 hours.
- Seal with a clear coat sealant. I wouldn’t suggest wax on cabinets. The wax isn’t the best for wiping and water and all that goodness you experience with bathroom cabinets. I used a Polycrylic, that you paint on. Easy as pie.
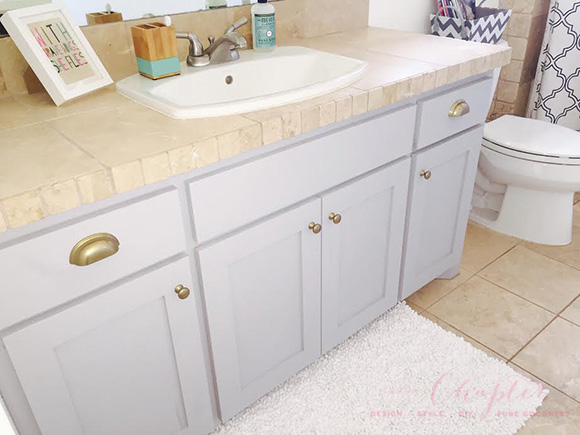
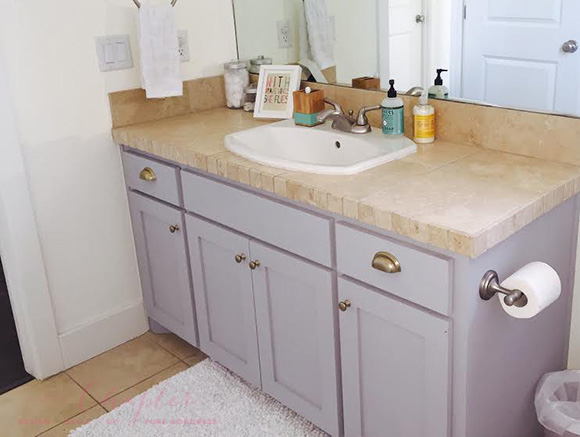
The entire process took like 2 days and that was mostly because I had to let the paint cure. So, why would you want to chalk paint your cabinets? Because it is a quick and cost effective way to make a change. A big awesome change that I made in my bathroom and my kitchen, which was an amazing change as I love cooking all the time with recipes from sites like Kitchenbar.net. I definitely could live without that tile countertop in the bathroom, but the painted cabinets make it way more bearable and I love the bathroom now (especially with the new art I made for the wall)! Some day a new countertop will happen… Anyway, what do you think? Would you try it?

