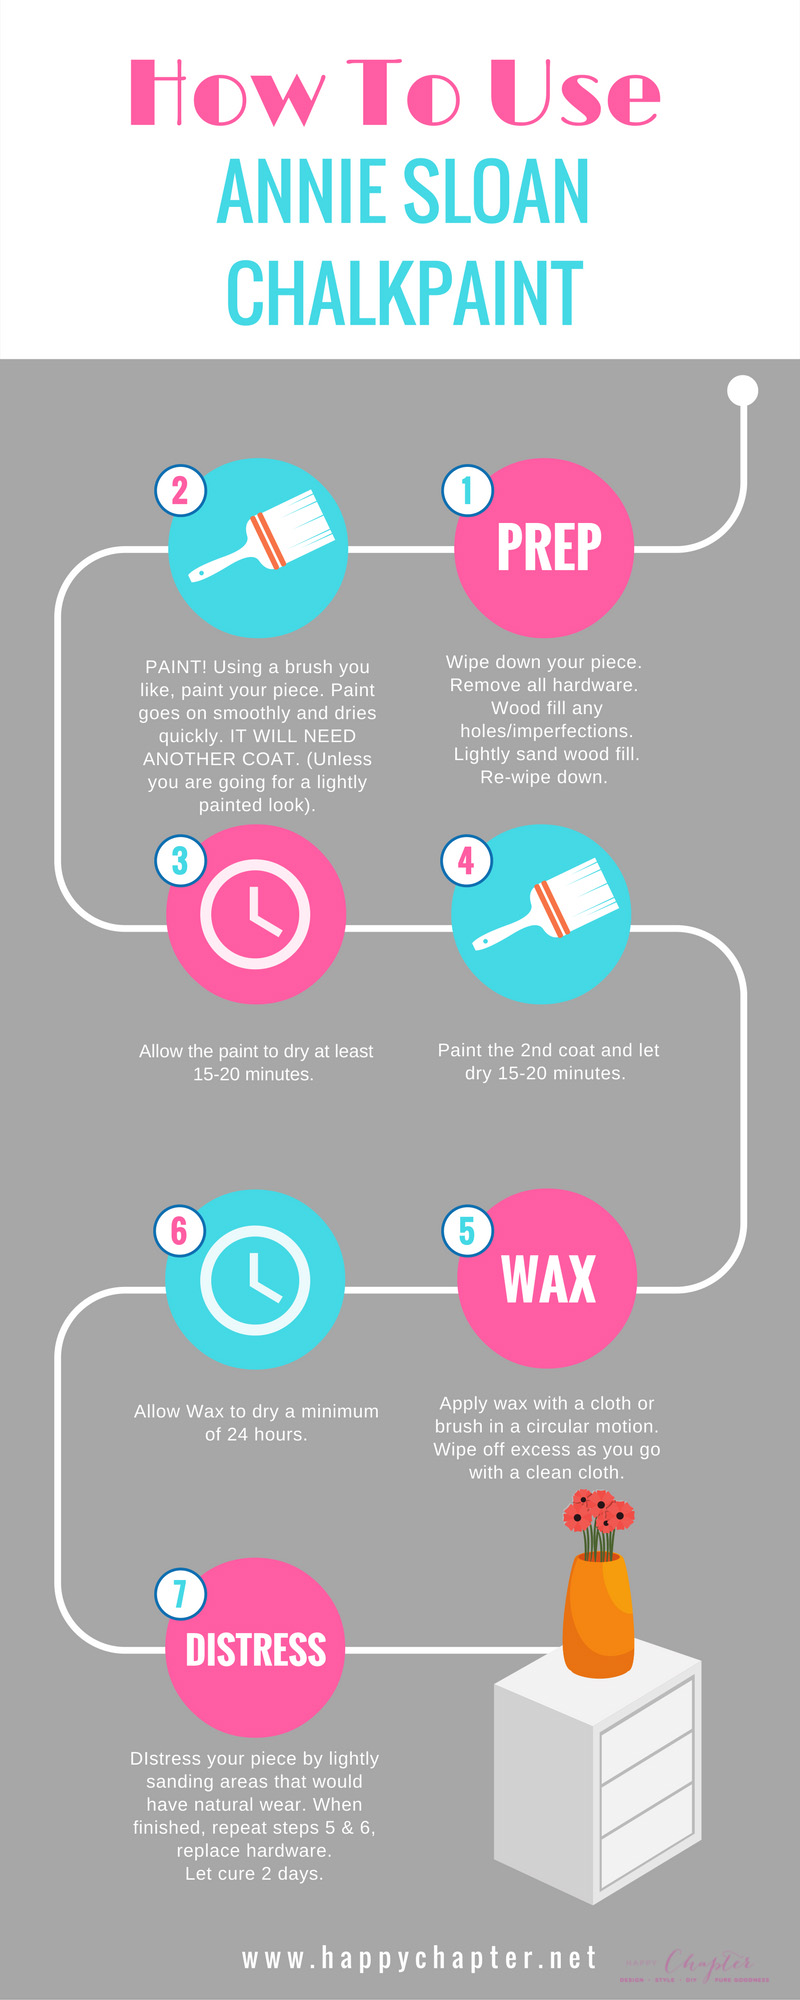
I’m a visual person. I like words and all, I mean of course. But instead of reading steps, I’d rather have a quick visual reference to look at. SO, voila, a How to for Annie Sloan Chalkpaint infographic. From me, to you!

I’m a visual person. I like words and all, I mean of course. But instead of reading steps, I’d rather have a quick visual reference to look at. SO, voila, a How to for Annie Sloan Chalkpaint infographic. From me, to you!
Lately I’ve been on a Nursery Furniture kick. I’m loving the fact that we go above and beyond to make the nursery such a warm, cozy and personal environment for our new arriving family members. You know, sometimes the stuff you get at the store just won’t cut it, so you need to create o restore furniture pieces you already have, for this you can Buy Epoxy Resin in Canada with free shipping! and this will help you restore some good pieces of furniture. This week’s obsession is refinished nursery furniture. These are my favorites!
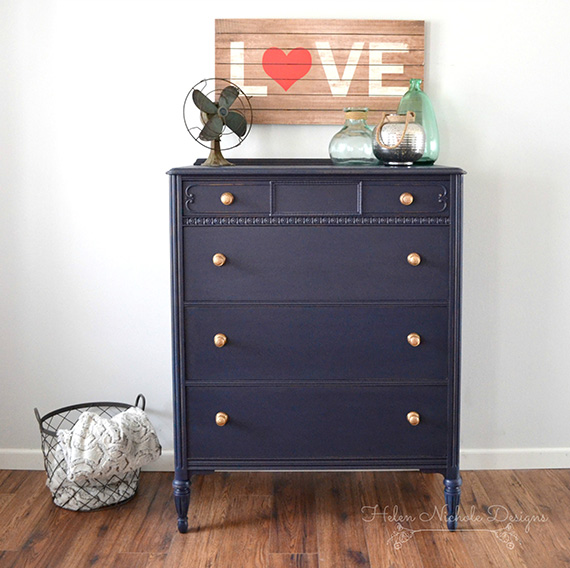
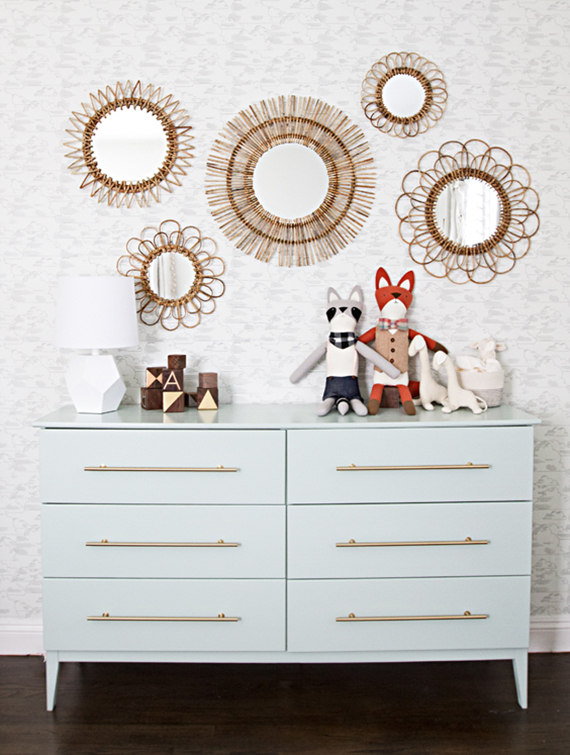
A refinished dresser by Helen Nichole Designs, I’m absolutely in love with this color.
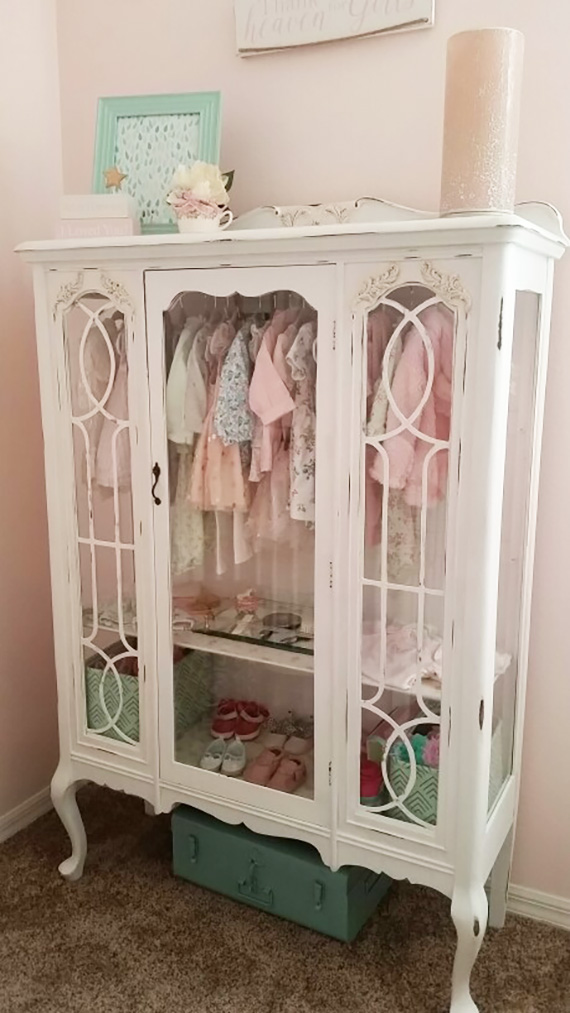
Seriously, how lucky is this little stylish baby that has this gorgeous piece in her room? Unfortunately I couldn’t find the source for this, but it was too cute not to include.
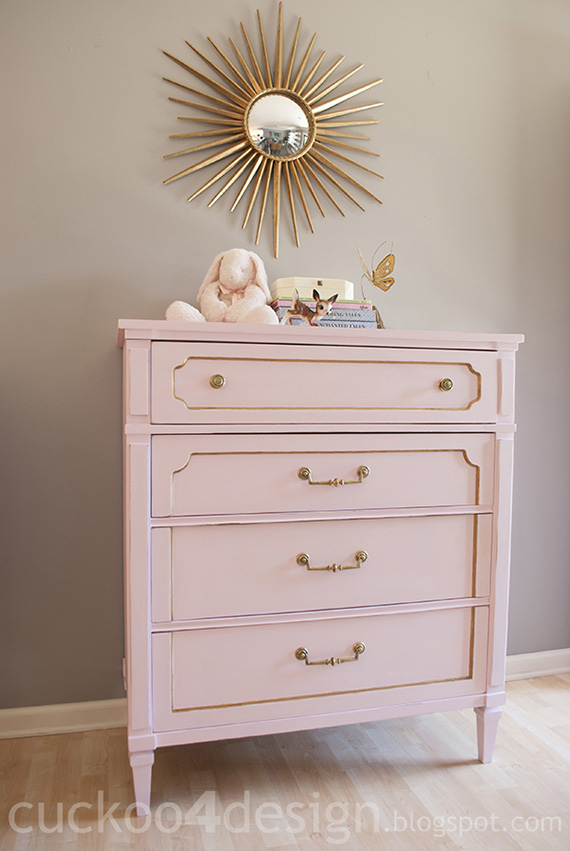
Oooh I’ve been loving this pink blush, and look at this beauty with the classy gold pulls. Redone by Cuckoo4Design. Love.

Bookshelves. Made of drawers. Genius. Addison Meadows Lane details exactly how to get these little gems made too!
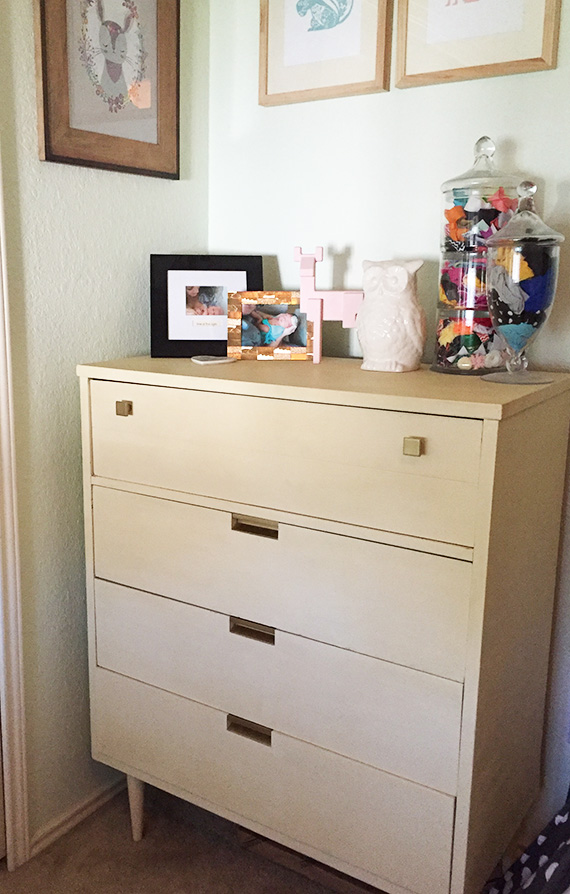
I mean if I’m including my favorite, I have to include my last few nursery projects as well, right!? Luci’s MCM Dresser.
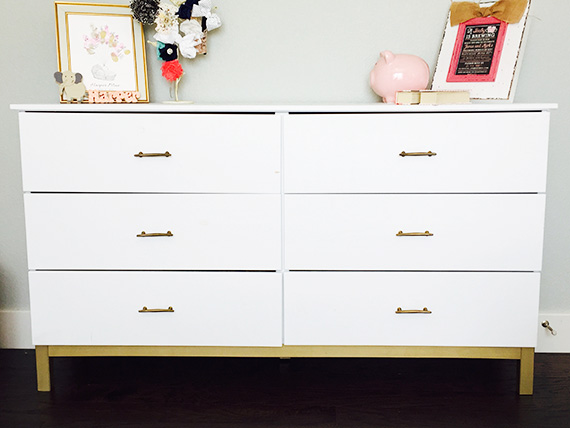
And Harper’s Custom IKEA Dresser that I made for her sassy nursery.
There is just something wonderful about a nursery. Ahhhh, babies! Am I right?
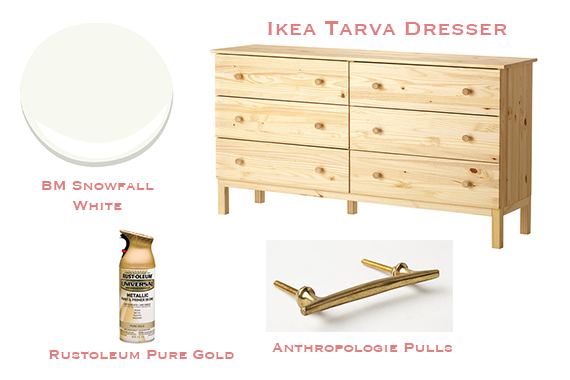
When Mark and I found out we were having a baby girl, we couldn’t have been more excited! As soon as we found out, the nursery ideas began a-flowin’ and I was out of control. I knew I wanted her to have a piece that no one else would have and that’s where I started brainstorming and pinning up a storm. I came across this photo from Sarah Sherman Samuel and was sold.
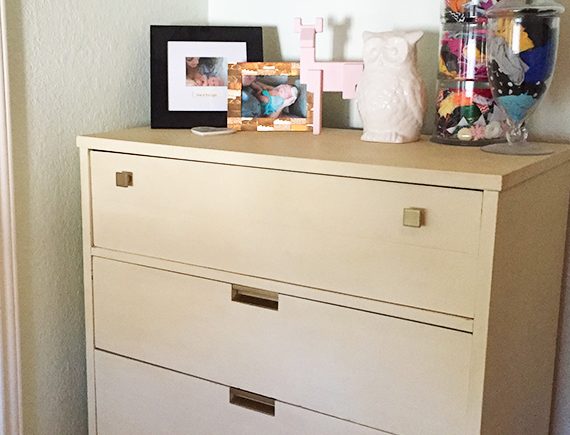
I wanted to do something like this for our sweet baby Harper. Her bedroom colors were roughly, Soft Pink, Mint, Gold, White and Grey. I thought a white dresser with touches of gold could be timeless and something she could use for years to come. So out we went to our nearest IKEA and snatched up the Tarva Dresser. I’ll tell you what, this sucker is not an easy build…well that’s what Mark said at least, but hey, it’s spacious, it’s the size I needed, and it’s going to be stinkin’ cute. So you do what you have to do! We were amazed by the variety TV Bed Store has on furniture styles and more.
We picked out our paint, we picked out our drawer pulls and we were good to go! Having a cluttered and disorganized bedroom closet adds stress and takes time away from your busy days. Whether you need more closet space or just want to find things in your messy bedroom closets, storage cabinet amazon will help transform your space and comfortable bed pillows make the difference. Beautiful design can blend with function when one of our designers helps recommend the right accessories.
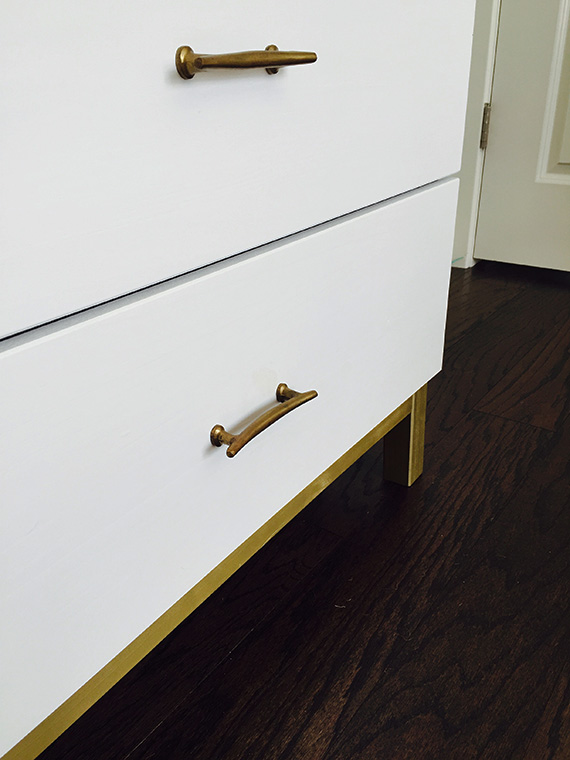
The dresser comes with some thick knobs, but we wanted to add our own touch, so I started by wood filling the holes and we would drill our own holes for the pulls I got later. Finding reliable storage spaces might be a little tricky for you, especially when you are looking forward to store antiques and possessions in a self storage unit. However, there are many self storage facilities that provide you the luxury of choosing a storage unit of your choice, and become free of all worries.
While building the dresser, we did not put the bottom piece on until the end, for two reasons.
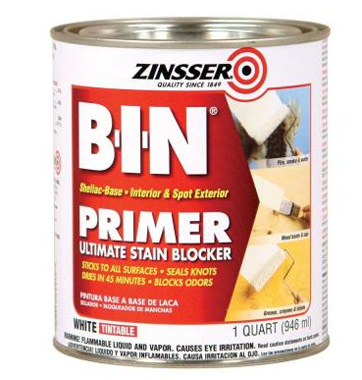
Because I wanted this to be super smooth, we (Mark) sanded it with a 180 grit sandpaper to make it smooth enough to prime. I was preggars, so I did the design on this one and Mark did the hard work. After we sanded, we used a fairly heavy primer because sometimes when you are working with wood like this and white paint, the wood coloring can seep through over time. We used Zinsser B.I.N. primer in white. We sprayed 2 coats of primer and 2 coats of paint with our trusty Graco Truecoat Plus II and the finish was SMOOOOOOTH. We did sand in between with a 220 grit paper, which is a pretty important step if you want it to be buttery smoooooth.
Super excited about the way it turned out.
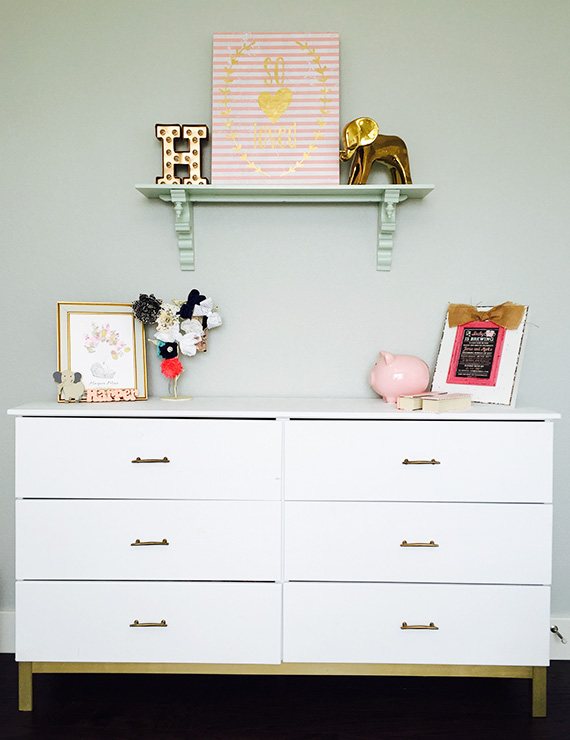
And now our little angel baby cakes has a custom dresser she can use for years!
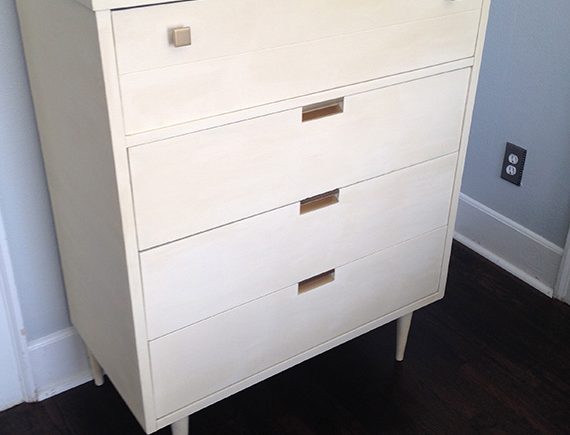
When I saw this dresser at a garage sale, I’d felt like I won the lottery. I guess I’m a sucker for old beat up stuff. Please don’t hate me for painting this beauty, but I saw it and I had a vision.
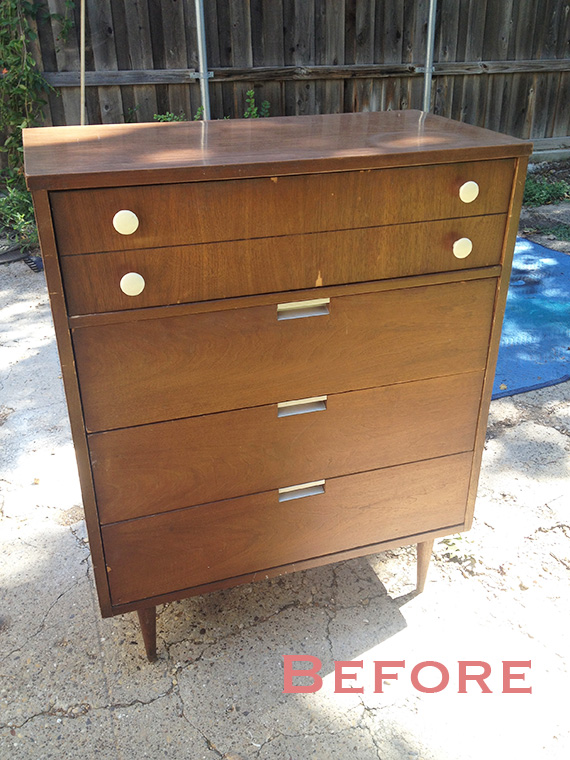
The dresser wasn’t in the greatest shape and needed some love. I needed to refill some areas, and there was plenty of torn veneer, so it would have been quite a mission, not to mention pretty expensive, to restore it to the original look anyway. I love commas. ANYWAY…I was a little uncertain about using chalk paint on something mid century modern, but I was looking for a flat matte look and knew the ol’ Annie Sloan chalk paint would do the trick. Plus HEY! No Sanding, No Priming. I’m in!
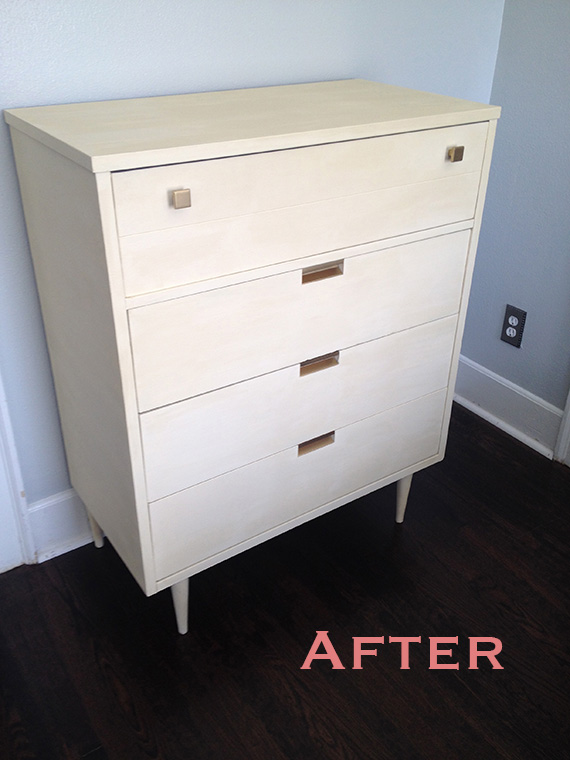
After I cleaned and filled holes and any damaged areas with wood filler, I used Annie Sloan chalk paint in Old White using this step by step painting process. Next, I shined up the original drawer pulls, but decided they needed an extra umph! and painted them with Rustoleum Metallic spray paint in Pure Gold to match some super sleek square knobs I found for the top drawer. I’m in love with the final look.
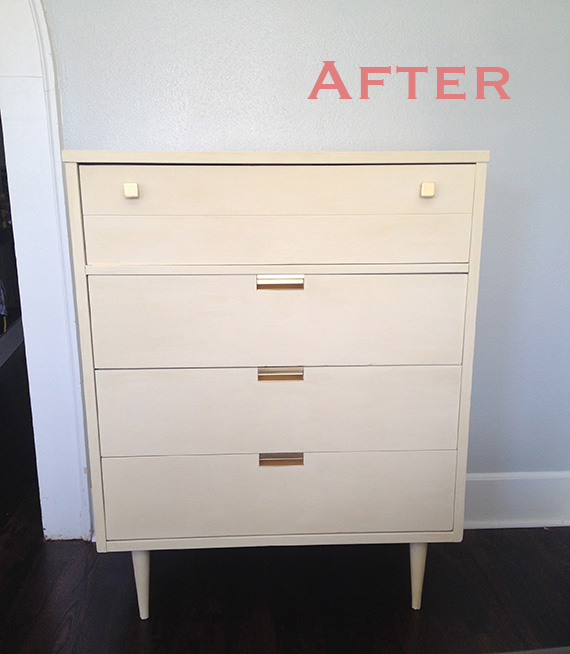
A very close friend of mine purchased this piece for her little girl’s “A Woodland” themed nursery and it looked just perfect in there. Take a look at this interior painting Mckinney company that can help you out with the best quality materials.
So tell me, would you do it? Do you think you could paint an oldie like this?
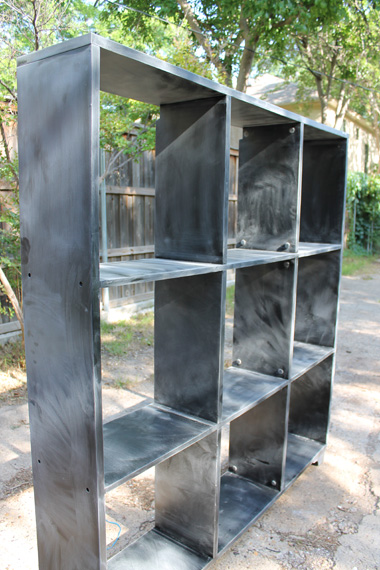
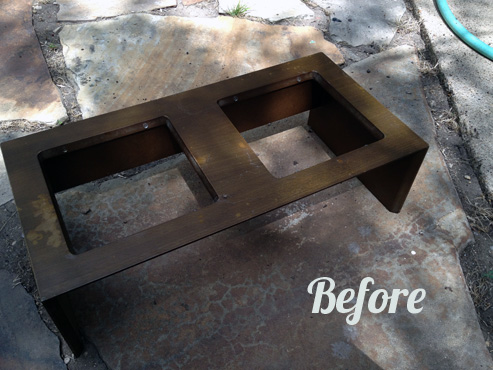
It is always exciting to take on new projects, even if I’ve never done that type of piece before, I always know I’m going to learn A LOT! When I took on a big bad laminate bookshelf, I had NO idea how difficult it was going to be, it’s just a little ol’ bookshelf right? NO! So I thought I’d write about my experience to save you the trouble. Painting veneer, laminate and IKEA furniture is actually pretty easy, there are just a few things to know and it’ll be a golden experience. I mean who doesn’t want to personalize your mass made furniture to make it your own? Well it’s easy stuff – first thing is first, make sure you have the right supplies.
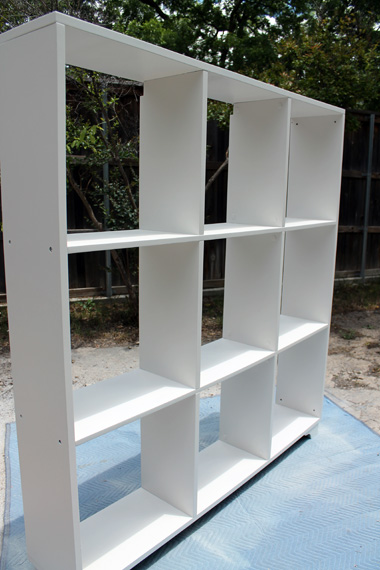
 After you’ve sanded the entire thing, wipe the piece down with a damp cloth to get rid of all that dust.
Here is the final bookshelf – I know it seems weird to just paint it white, but this particular piece matched my customer’s wall perfectly, so it looked like it was a built in, it turned out really nice.
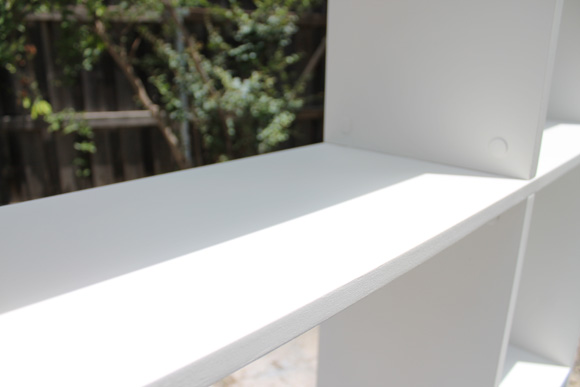
and smooth!
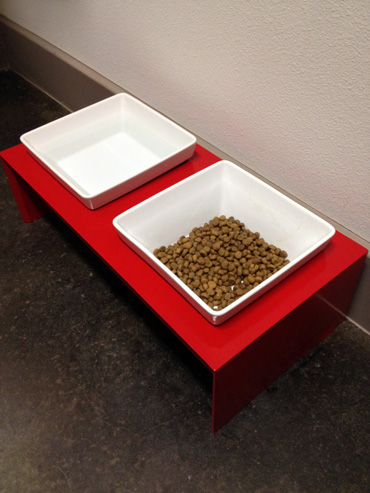
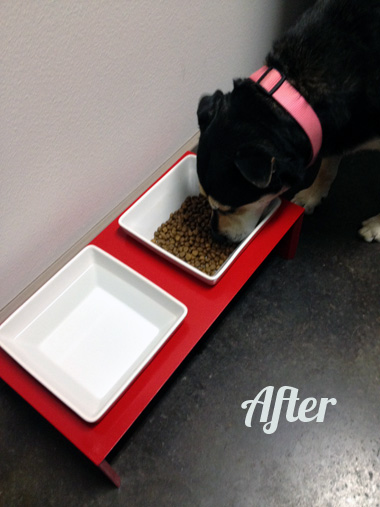
I also used the exact same steps to personalize a dog bowl for some of our great friends. I love how their sweet dog Cin Cin now has a custom bowl that is like no other!
I’d love to see some pics from some of the furniture you’ve personalized with paint!!
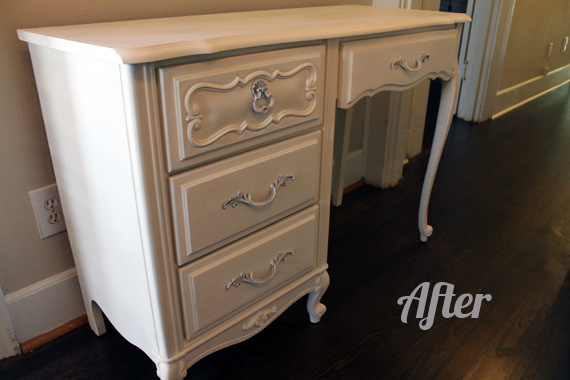
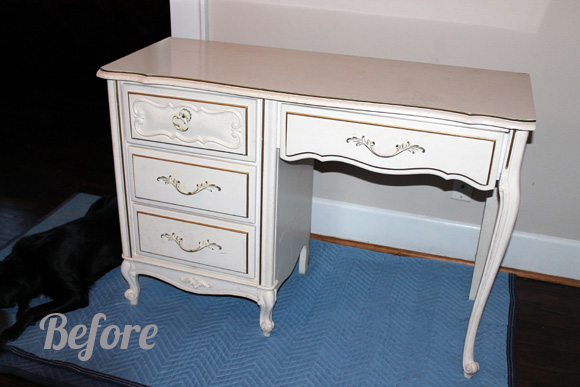
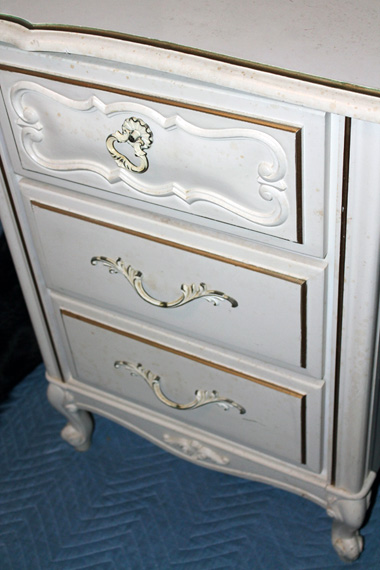
Oh my goodness, I was so happy to have found this gorgeous little sassy desk on craigslist, I see french provincial pieces from time to time, but they are usually too expensive for my taste, so when I saw this pop up right in my range, I snagged it right away. The thing with these french provincial pieces are they truly can go into any room and just spruce it up. The desk was a little dull when I got it, but I decided to go simple on this piece and just let the lines speak for themselves. I used Annie Sloan Chalk Paint in Old White using my Chalk Painting Process and the original hardware sprayed with a dark silver and brushed lightly with Old White.
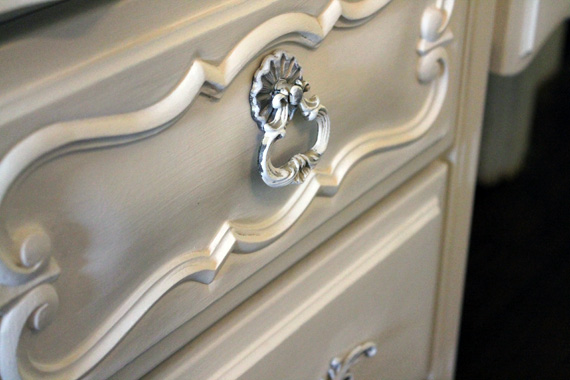
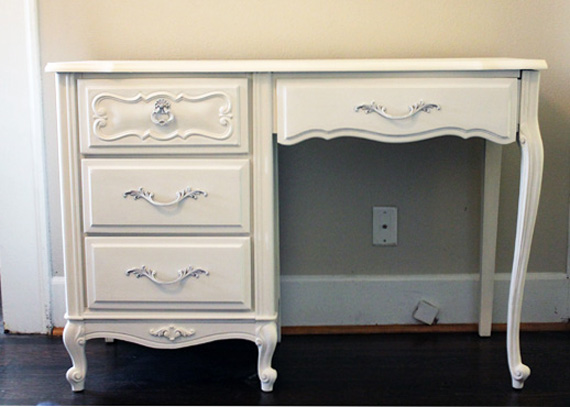
What do you think? This piece sold before I even listed it, but if I had it for a minute, it would have gone just beautifully in our guest room. Where would you place it?
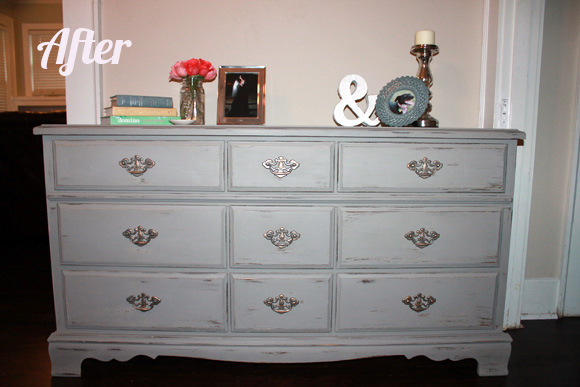
Howdy! So I have to start this one saying, shame on me for not taking enough before pictures. It’s really hard to show you a transformation without the before’s, but I’ll do my best. I was really excited to work on this dresser, because I knew just what I wanted to do with it, but the most fun was creating a fresh fun look for the drawer pulls.
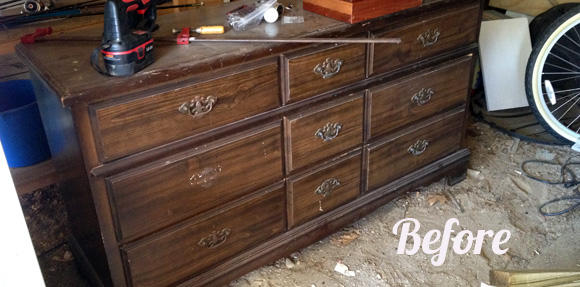
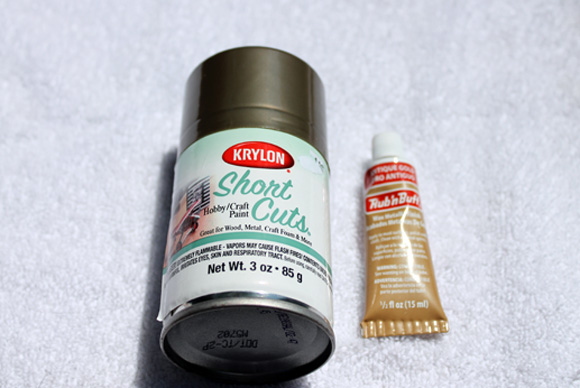
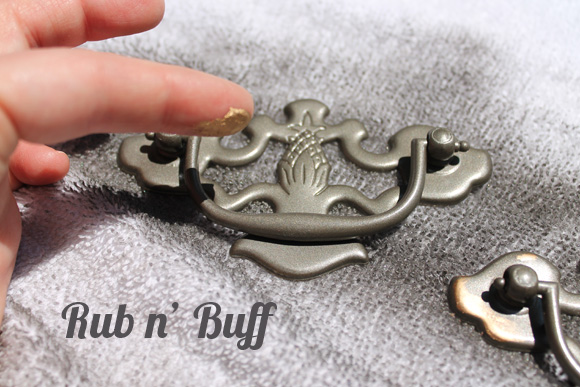
Here is what I started with…not so much, right?! (Sorry about the horrible photo, only one I took) This was just an old dresser I found at Goodwill, it had great bones and just needed to be cleaned up, so I did it! Take a gander at the drawer pulls, they really were in pretty good shape, they just needed some cleaning up and a little love so I decided to keep them instead of replacing them. I popped into my favorite place, Hobby Lobby and looked for a nice spray paint and some Rub n’ Buff. I decided on a Krylon color called Antique Bronze, I thought it would look gorgeous and offer just enough contrast from the Antique Gold Rub n’ Buff. If there isn’t a Hobby Lobby near you, any craft store should carry it, or you can grab it on Amazon here.
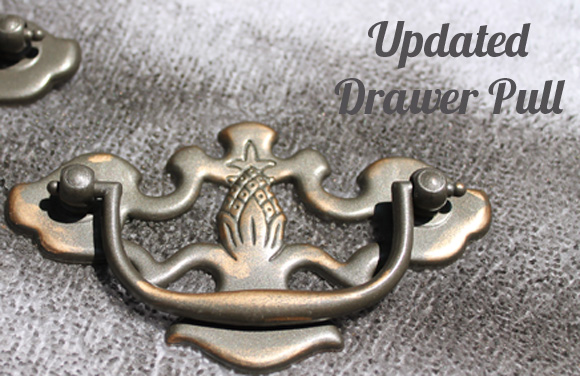
First I sprayed all of the pulls and waited about 25 minutes for them to dry. Once they dried, I applied the Rub n’ Buff. It was so easy to apply, you just take your pointer finger and put a little of the Rub n’ Buff cream on it and rub on the pulls where you want it. I love the way it makes the drawer pulls look new and refreshed, but antique at the same time. Does that make sense? Ha!
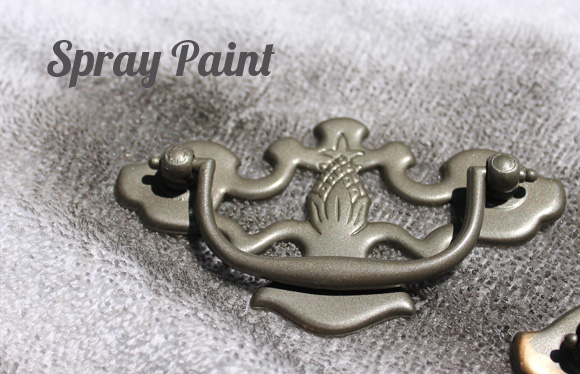
 The Rub n’ Buff dries super quickly, so pretty much as soon as it’s on, it starts to dry and will be ready to handle in about 5 minutes.
 Once all the fun was done with the drawer pulls, I finished up distressing and waxing the dresser. I had painted it using my Chalk Painting Process earlier with Annie Sloan’s French Linen.

I think the color of the dresser goes just wonderfully with the drawer pulls and I always love using the original hardware. Don’t you just love that Rub n’ Buff?
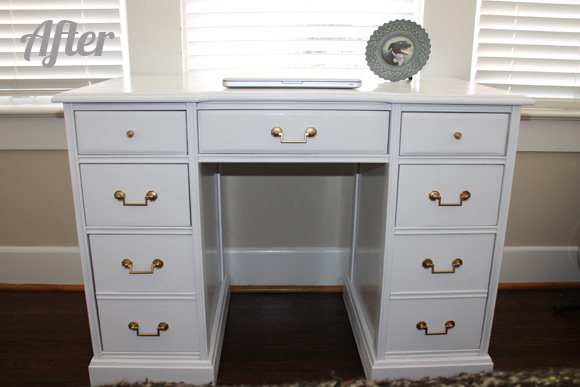
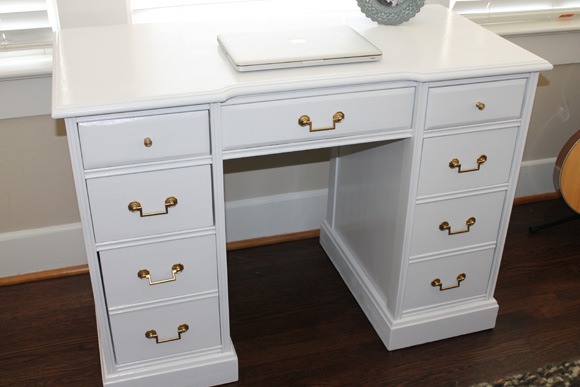
OK OK, I’m on a glossy furniture kick, I just have this attraction to these shiny lacquered looks and I just want to recreate them over and over again. Lucky for me, I found this awesome desk at a garage sale in my neighborhood and as soon as I saw the lines on it, I knew exactly what I wanted to do with it.

The desk kind of reminded me of a piece of furniture I had pinned from Z Gallerie. I loved how it kind of had that Hollywood Regency look to it. I was drawn to these images and knew this desk could pull this look off!


The desk had a super dark stain and had this terribly thick waxy sealant on it, so the sanding job was a nightmare, but I got through it. I had to get a circular sander, but it made the project move along much faster.
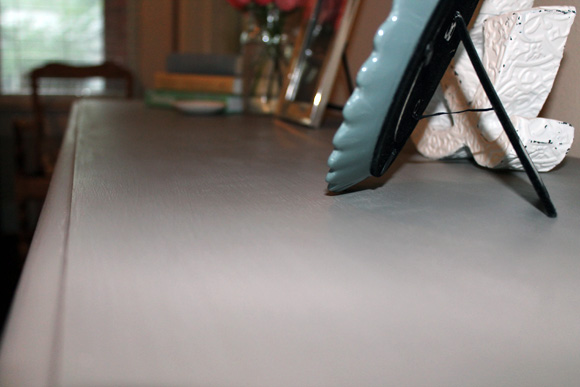
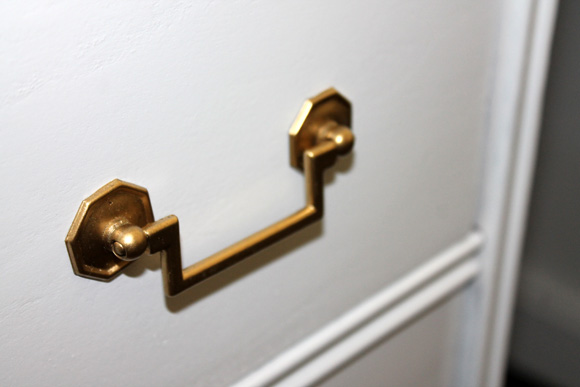
After sanding, I used my spray gun (The Critter) and painted on a gorgeous bright white oil based paint from Rustoleum. It took what felt like millions, but was actually only 3 coats to make it look as glossy and smooth as I wanted. I used a 220 grit sanding block in between coats to make sure I got it as smooth as possible; the circular sander can be pretty rough on furniture and softer woods. I decided to use the old hardware because I thought it was still pretty cute, I just sprayed it with a brass spray paint and I like the end look. If you know anything about oil paint, it’s that it takes a reeeeeeally long time to dry! So this project took forever, but I am so happy with it, I think I may keep the desk to put in our guest bedroom. If you have back, hip, neck or shoulder issues, a body pillow amazon can help you find pressure relief by offering extra support. Body pillows can also help you fall asleep faster by easily helping you find that perfect sleep position.

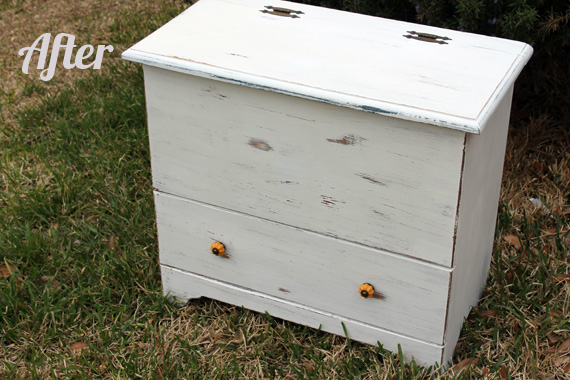
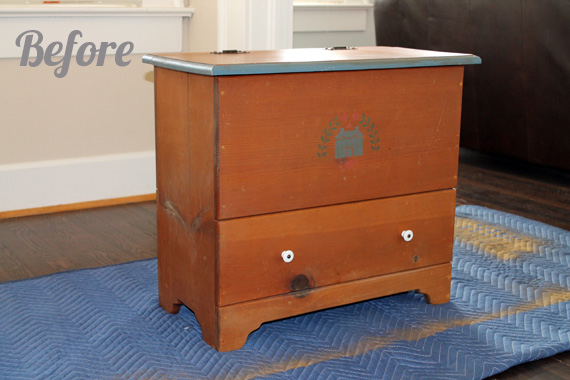
I don’t know about you, but I have been hearing raves and praises about Annie Sloan Chalk Paint quite frequently, so I was over the moon when a girlfriend of mine commissioned me for a “Shabby Chic Distressed Trunk.” From what I have heard, this chalk paint would be just the right way to create the exact look she was going for.
This paint is sold all over; the website has a list of locations. It is a bit pricey so expect to pay a little more than normal for paint, but when you consider all the time you save by not sanding, or prepping, or priming, you’re probably coming out even, or actually a little bit ahead! Yes, that’s right, no sanding…whoo hoo!!
Here’s what you need:
Step by Step:
Voila! There you go. Check out this fun trunk. I definitely see more Annie Sloan paint projects in my future!
Sooooo, it’s taken me a bit to get this beauty finished, but boy was it fun and I totally love how it turned out.
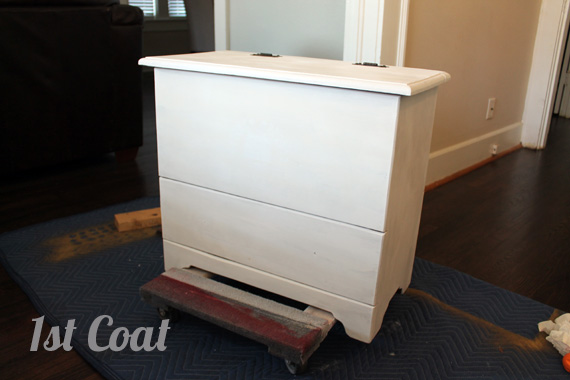
I tried my hand at oil painting furniture and I’m seriously hooked. I read tips from a few of the awesome bloggers I follow at Little Green Notebook and Natty By Design and mid-project decided I needed to get a spray gun, they are so so good. I chose this little guy and I’m super excited and want to spray like everything now. (Seriously, I was asking Mark if I could spray like every little non colored thing in our house this weekend).
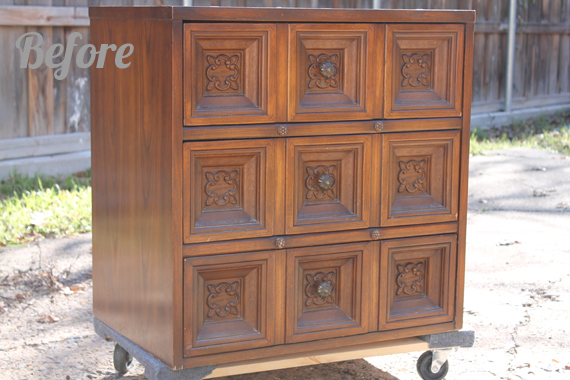
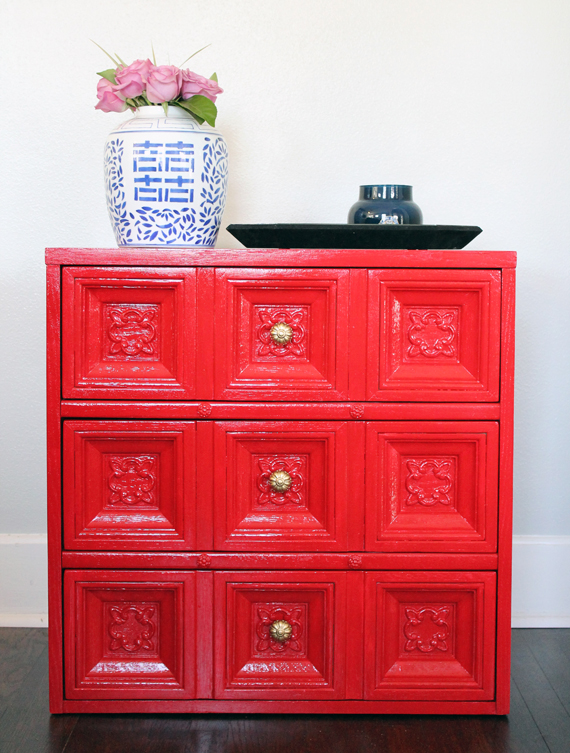
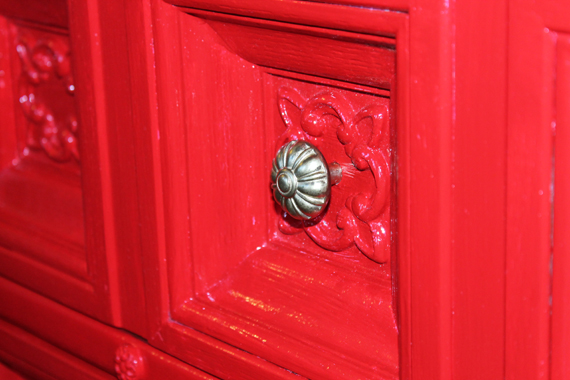
Anywho – it’s finished. This was a thrift store find, and it actually was really pretty to begin with, it just needed some umph. I fell in love with the fun detail on the drawers and when I got it home, I found it it was an old American of Martinsville piece – score! I used my critter spray gun with Rust-oleum’s Gloss Sunrise Red and a little bit of Mineral Spirits to thin it out. It leveled beautifully. Because I kind of liked the look of some brush marks on the drawers, I painted those by hand with a brush and I like how they turned out too.

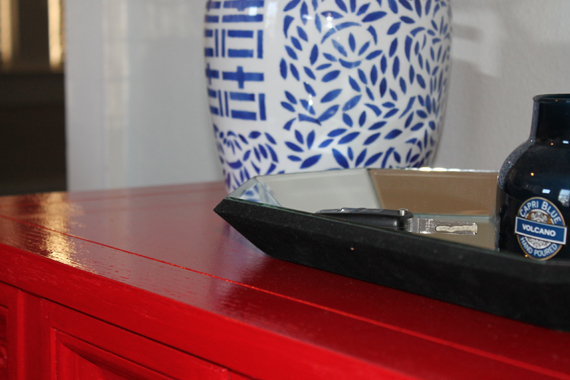
I think it would make a gorgeous entry chest, or a fun statement piece for any room and lucky for us, it’s for sale in my store! So tell me – where would you put this red hot chest of drawers?