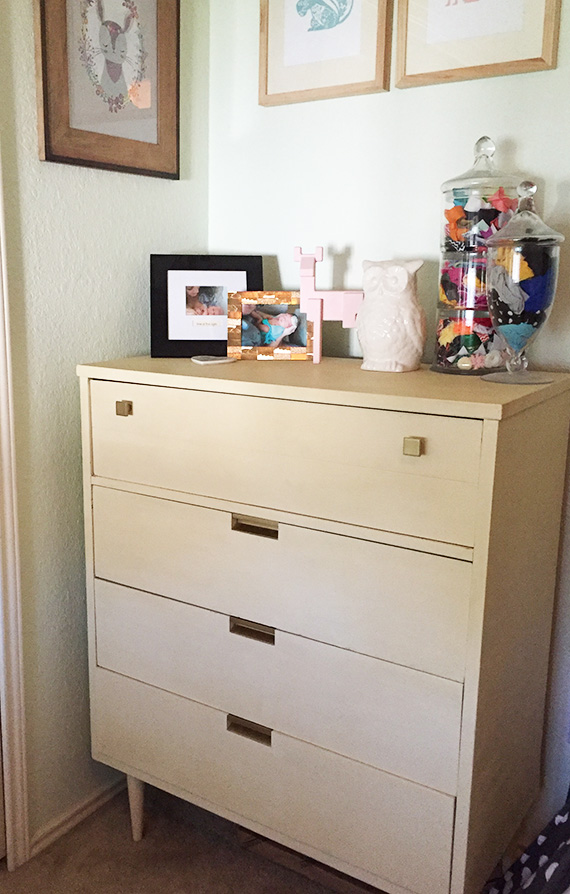
One of the things I love most about my job is that people come to me with these super unique pieces that have been in their families for eons. For the most part, they want to keep the integrity of the piece, but want to update it a bit to fit their style or just bring it back to life. It’s really an honor to get to work on a piece like that. I just can’t but help think about the happy family dinners a dining table has been a part of, or how many favorite books, toys or family photos a bookshelf has held. I love the history of these pieces and being able to restore them to their next chapter of life is such a pleasure for me!
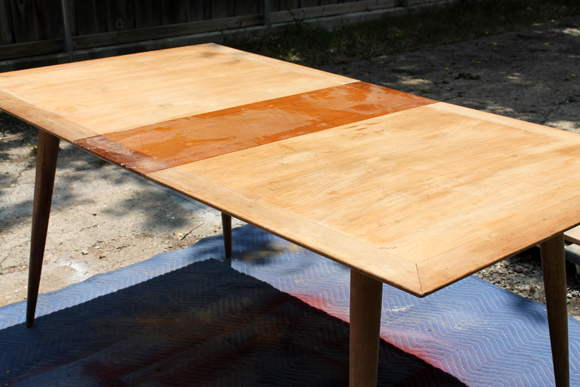
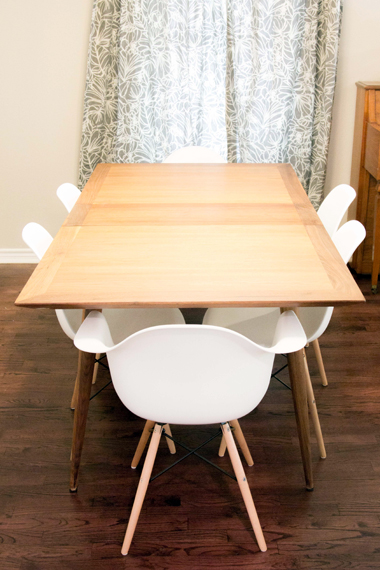
This mid century modern dining table was one of the most fun projects I’ve worked on. For starters, the story of this beauty is that it was once the childhood table of a friend of ours. She was ready to part with it and was going to sell it in a garage sale. Well, another close friend of ours, stopped by the sale and said something along the lines of – Whoa! you’re selling that?! What a great piece, that would be great for our family table. So, he took it, and that’s where I come in. A gorgeous table ready for it’s next Happy Chapter with a wonderfully cute family.
Mark , my sweet husband helped me quite a bit with this table because:
- It’s like he can’t stand still.
- It was such a cool piece, he had to have his hands on the power tools to get it perfect.
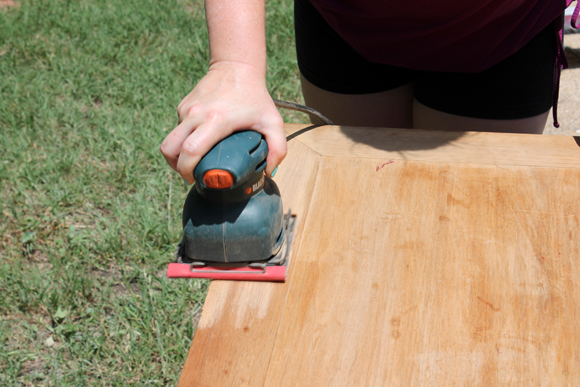
We started by sanding the table down to remove all of the stain and love (like crayon/marker marks etc.) We started with a 150 grit to remove the stain and then sanded with a 100 grit paper to smooth it out and prep for the staining process. The wood was phenomenal under the stain, it was just the softest natural wood I’ve worked on.

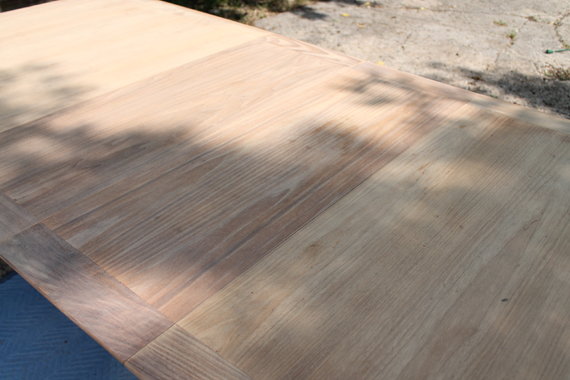
The wood was so soft, we definitely needed to use Minwax Wood Conditioner before we put the stain on, the wood conditioner helps to prep the wood so it will take the stain evenly. I really recommend using this anytime you stain a piece, it’s a quick step that really makes the difference with the result of the finished project. Just apply the wood container with a synthetic brush and it’ll just soak right in.
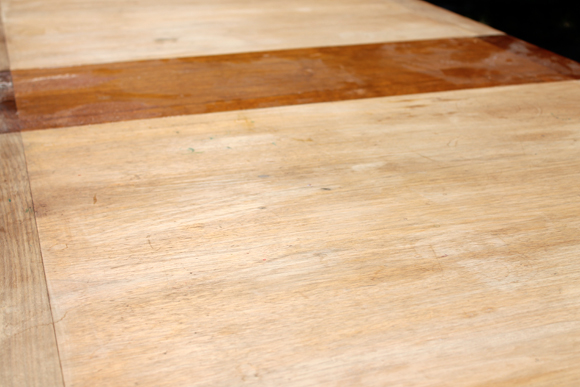
As you can see in the before pics, the natural wood was a variety of colors. My customer had requested that the stain was natural, so I checked with her to see if she liked the difference in the colors. She loved it, so we continued on the natural route, which I’m so glad we did. This table was absolutely gorgeous natural. We stained the table with “Natural,” a Minwax Oil Based Stain. The table looked great and now we were ready to poly. This is where we hit a bump in the road.
I won’t bore you with the details, but basically this wood was so soft, the typically poly we would use for a dining table would not soak correctly and it made a terrible uneven finish – so we had to go to plan B. Plan B first consisted of starting over – Doh! We had to go all the way back to step one. After re-sanding, re-conditioning, and re-staining we were ready to “test” some new finishing products. After testing, and waiting, testing and waiting we went with Varathane’s Matte Poly. This stuff was like magic, but it did take close to 5 coats to make sure the dining table would be sufficiently protected. This particular poly did not have the amber tint most poly’s have, so it really let the “Natural” finish stand out. See the smooth finish. Note: this stuff is hard to find in store, so lately I’ve had to order from Amazon.
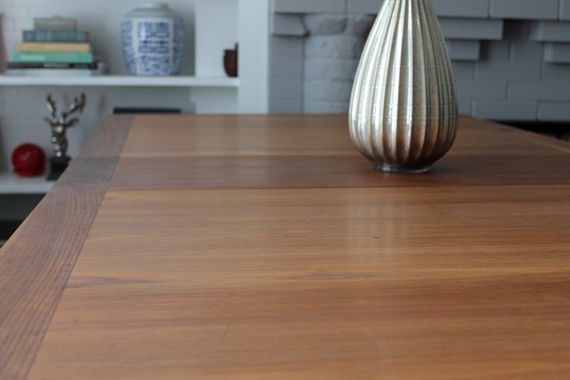
The beautiful table was finally ready for it’s new life. Ready to be the spot where the family sits for hours, laughs and tells stories about their day. The table where homework will get done and college apps will be filled out. I can’t help but be proud to be a mini part of that.
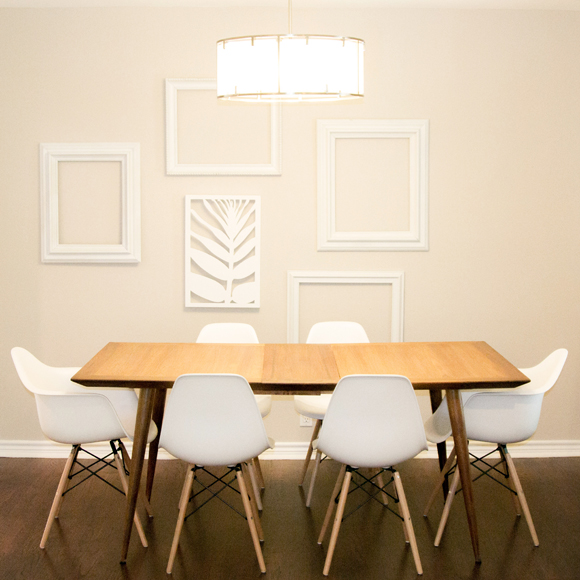
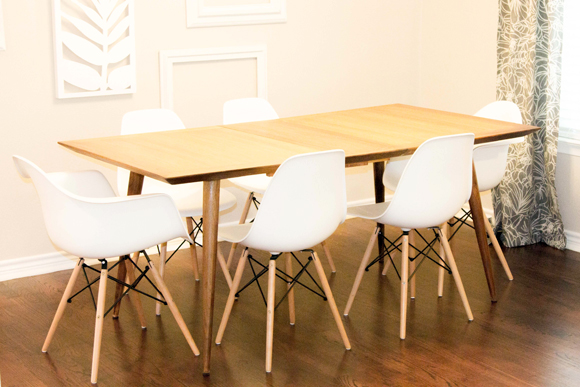
* Photo Credit for “After” Photos – Eddy Badrina

